
Home Theater Knowledge Center Guides, Ideas & Inspiration
The Elite HTS Knowledge Center is a collection of educational resources designed to support seating selection, layout planning, and specification decisions. Content is intended to provide clarity around comfort, ergonomics, materials, and planning considerations for cinema environments.
Purpose
Designed to Support Specification
Rather than promotional content, the Knowledge Center focuses on practical guidance and design considerations commonly encountered during theater planning and seating specification. Resources are structured to assist trade professionals throughout the design process and to provide helpful context for privately commissioned projects.
Insights
Latest from our studio
Practical articles on seating design, materials, and theater planning
Home Theater Lighting Control Guide | Elite HTS
Learn how to design a home theater lighting system - from blackout solutions to programmable mood scenes.
Custom Home Theater Series | Madison Hudson Design
Immerse yourself in the exquisite craftsmanship and innovative designs of Madison Hudson, as we unveil custom home theater creations inspired by luxury.
Home Theater Lighting Control: Designer Tips | Elite HTS
Master home theater lighting control with smart dimmers, scene presets, and systems like Crestron and Control4.

6 Best Movie Streaming Subscriptions that aren’t Netflix
Discover a world of cinematic entertainment with our curated list of the best movie streaming subscriptions, offering diverse content.
Why home theaters are playing with motion | Crowson Technology
Experience unmatched audio realism with Crowson Technology's motion actuators, enhancing your home theater for immersive cinema.

Custom Home Theater | Moseley Electronics Series
Elevate your home entertainment experience with Moseley Electronics' custom home theater series, featuring state-of-the-art audiovisual technology.
Custom Home Theater | Scottish Castle with Tri Custom
Bring your vision to life with Tri-Custom's custom home theater solutions, offering limitless possibilities for personalized designs.

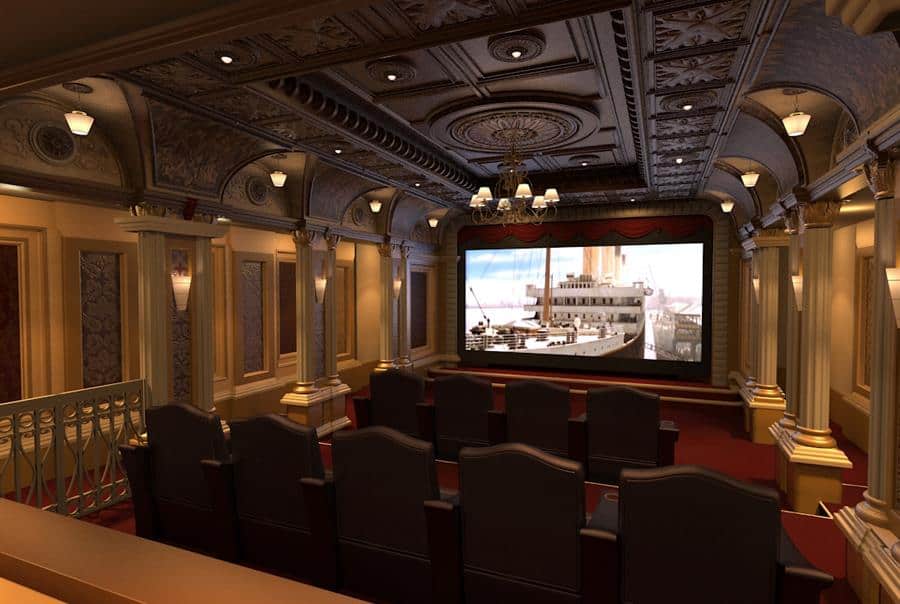
Roaring Twenties Home Theater Design | Elite HTS
Immerse yourself in the opulence of the Roaring Twenties era with our custom home theater designs inspired by the glamour and sophistication of the time.
.webp)
Best Home Theater Projector of 2020
Discover the pinnacle of home theater projection technology with our curated list of the best projectors for immersive entertainment experiences in 2020.
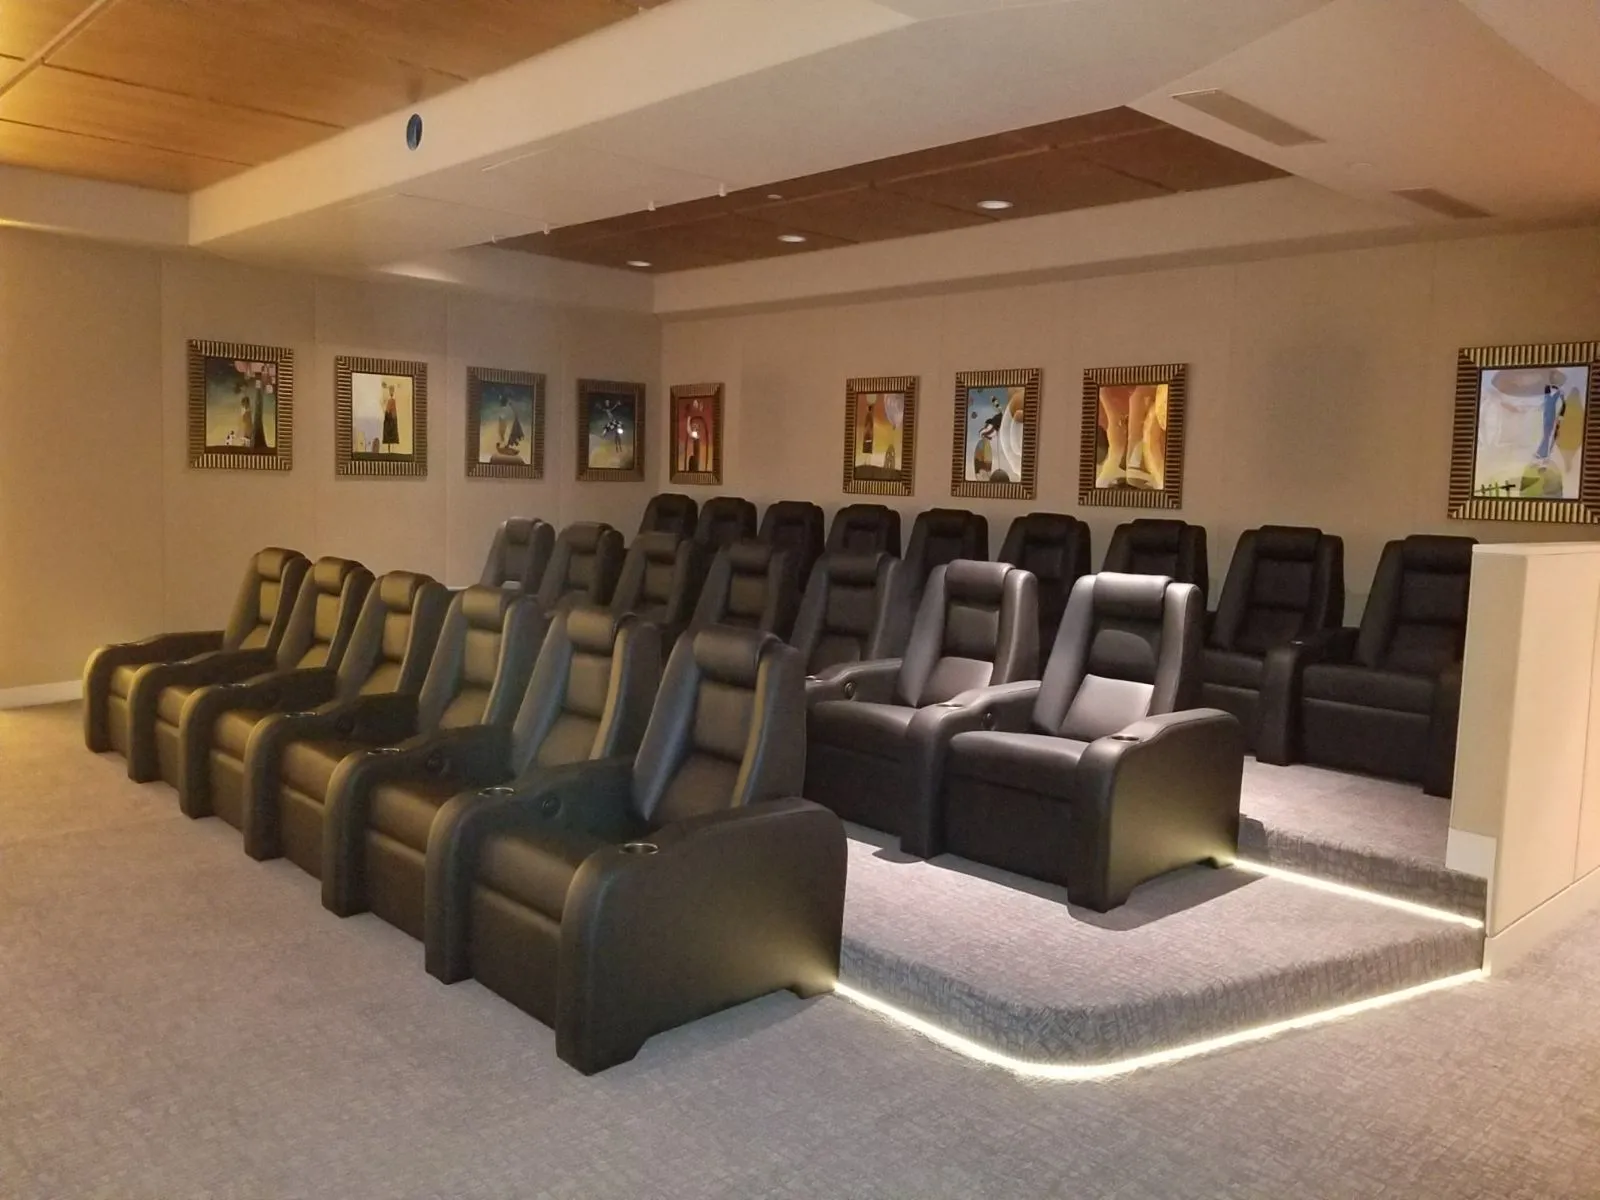
Basement Home Theaters That We Love
Transform average Basement Home Theaters into the ultimate movie experience. Discover how to design, furnish, and optimize your basement space!
5 Best Home Theater Seating Ideas For 2021
Elevate your home theater experience with our best home seating ideas. Blend comfort, style, & functionality for the ultimate movie-watching haven.

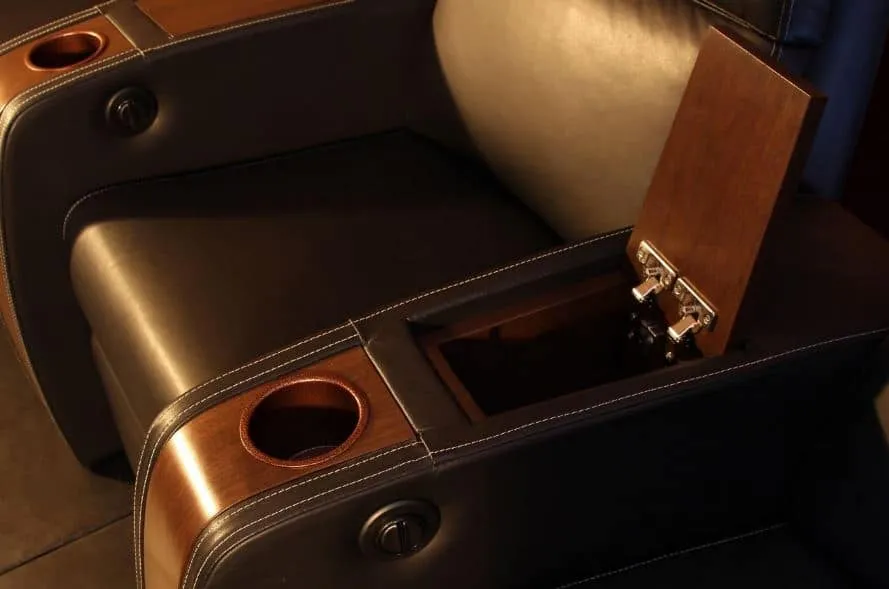
8 Best Home Theater Accessories
Discover the best home theater accessories to elevate your cinematic experience. Explore our curated list of accessories for your home theater.